

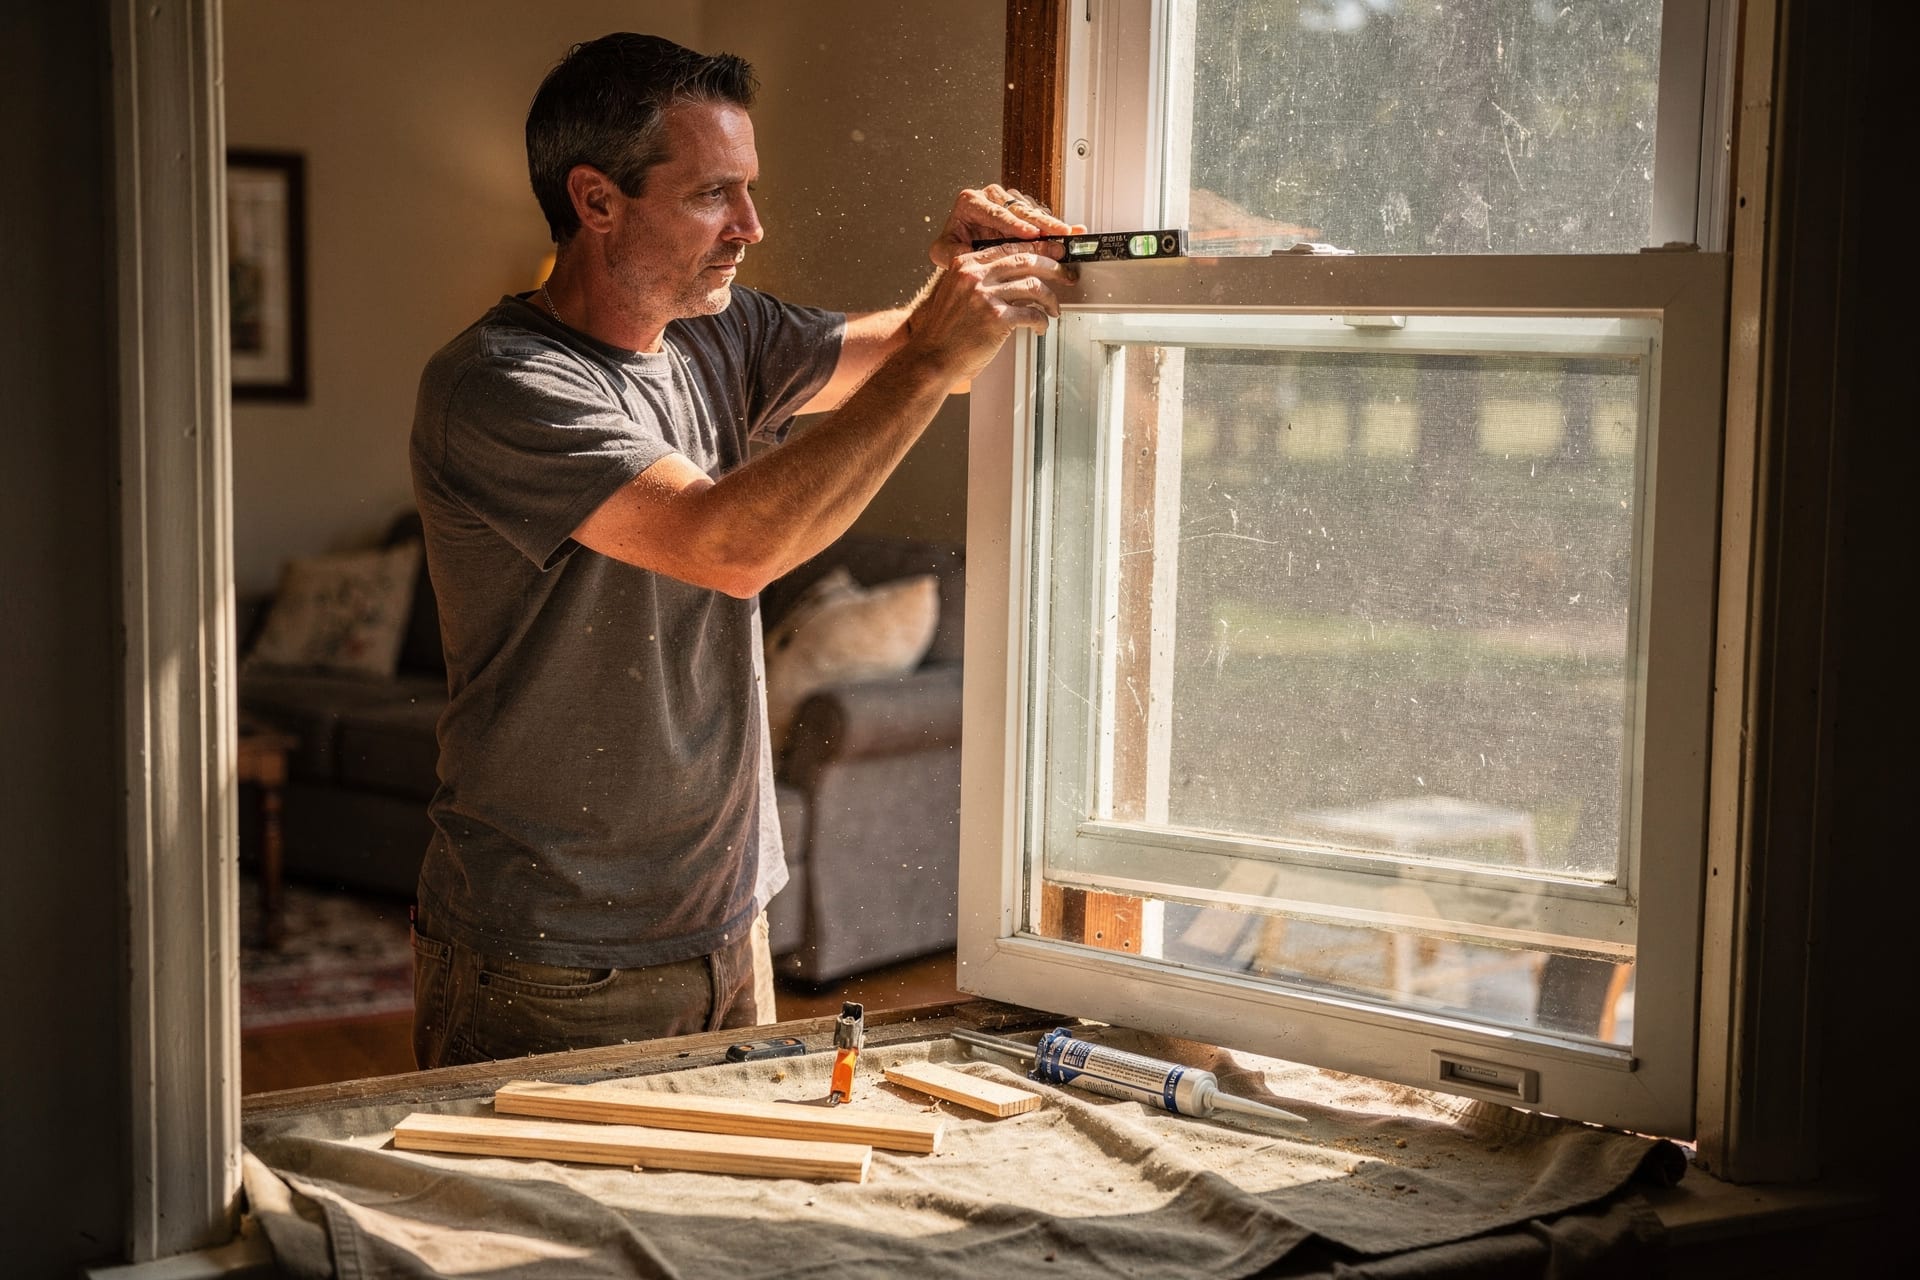
Type this question into a search bar and you get two stacks of answers. One stack teaches the steps — measure, pry, shim, foam. The other stack lists everything that can go wrong and suggests a professional.
Both stacks are right. Neither one draws the line: which openings belong in the first stack, and which belong in the second.
So real homeowners argue it out on forums instead, and that’s where the honest answer has been hiding. I went through those arguments, next to what the manufacturers and the how-to guides actually publish, and drew the line on paper.
By the end of this page you’ll know which of your windows a competent DIYer can genuinely take, which conditions end the case at an opening, and what the labor line buys when you hand one over.
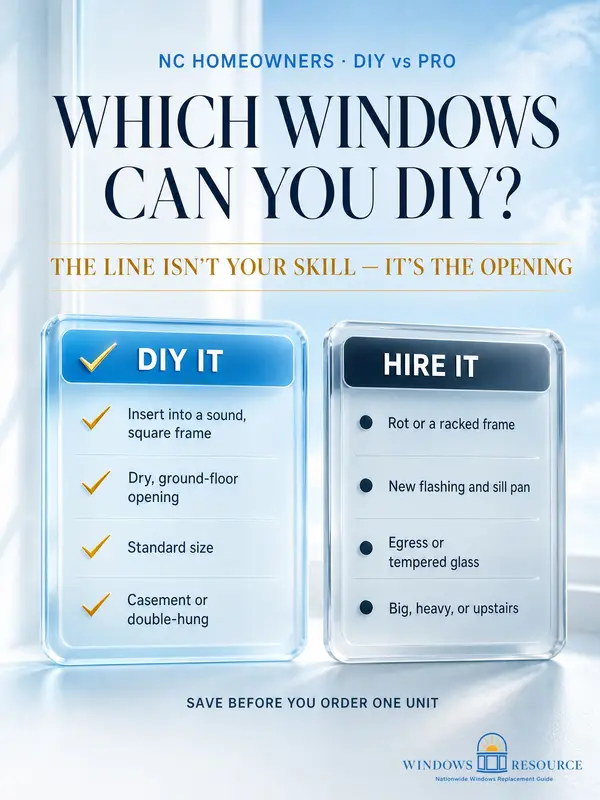
Can you replace your own windows? Often, yes — an insert (pocket) replacement into a sound, square, dry, ground-floor opening in a standard size is genuinely within reach of an intermediate DIYer. What ends the DIY case isn’t skill. It’s rot or a racked frame, flashing and water management, code locations (egress and tempered glass), warranty install conditions, and big one-shot units. DIY the openings that pass. Hire the ones that don’t.
What can a competent DIYer genuinely handle?
An insert replacement into a sound, square, dry opening on the ground floor, in a standard size — that’s the DIY window.
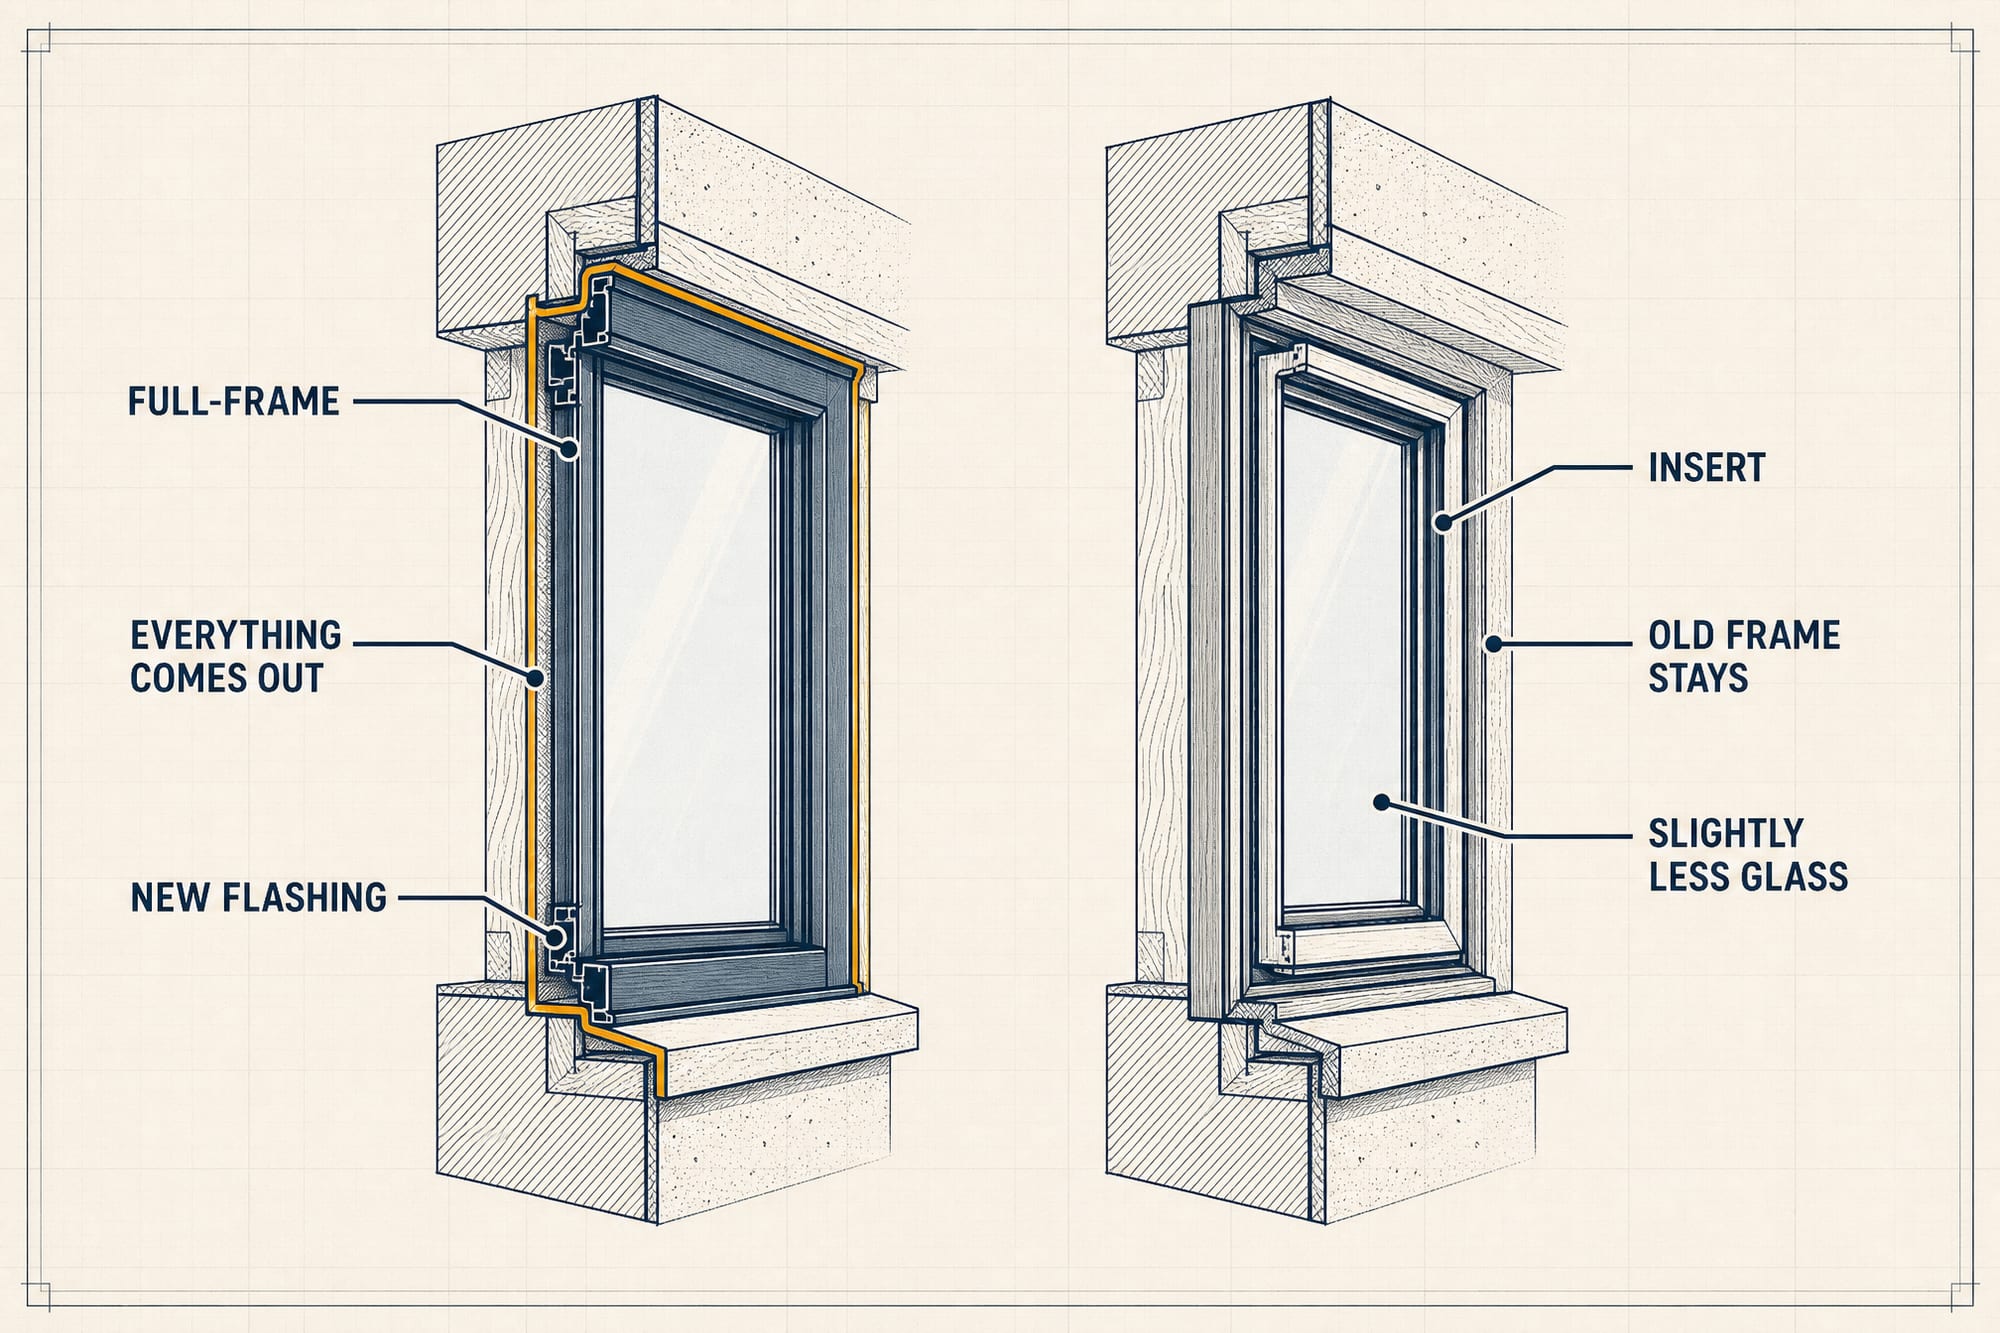
An keeps your old frame, trim, and siding in place. The new unit nests inside. That’s the version most how-to guides are quietly describing, and it’s the version your frame’s condition has to earn.
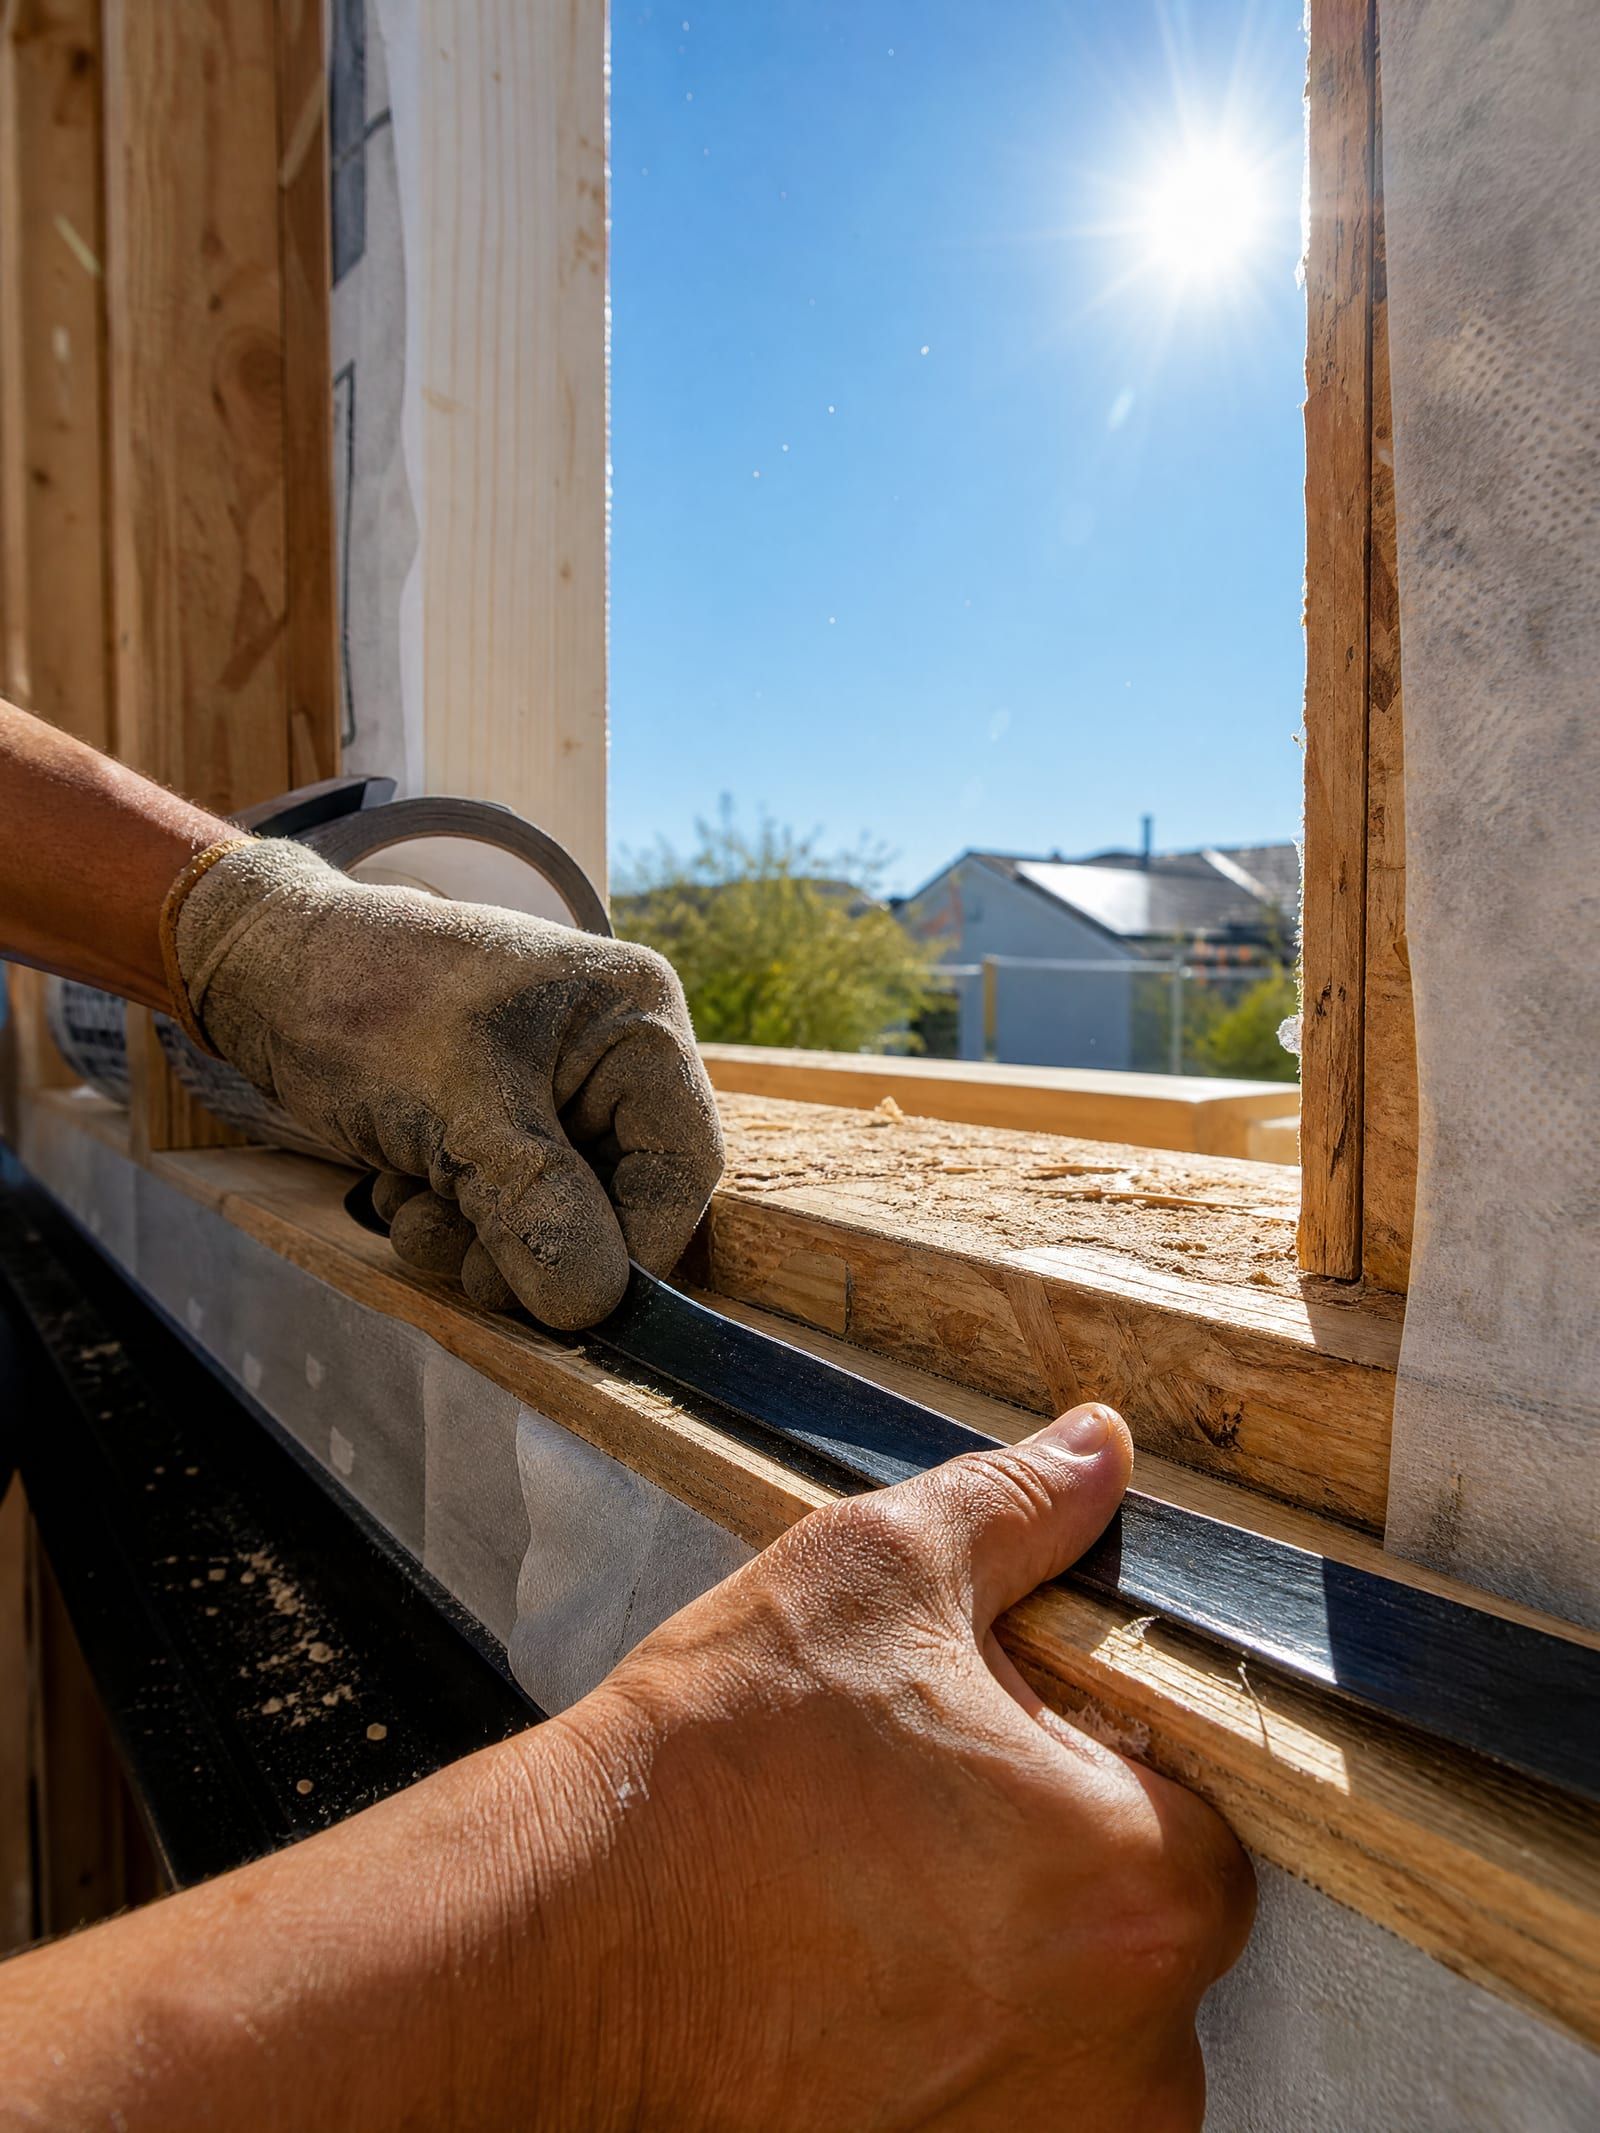
The work itself is careful more than hard. Old sash and stops out, opening cleaned and checked, new unit dry-fit, shimmed plumb, fastened, sealed with backer rod and caulk outside and low-expansion foam inside.
Manufacturers plan for you to do this. Andersen publishes product-specific install guides for DIYers and frames the decision as a self-check on skills, tools, and time — with full-frame work pegged at four to six hours minimum per window at ground level, and more upstairs. Inserts run lighter.
The forum record agrees. One r/HomeImprovement regular who’s installed seventy-five to a hundred windows put it plainly: it’s not trivial to do right, but it’s well within the ability of an intermediate-to-advanced DIYer.
Two craft notes from people who learned them the expensive way:
- Measure the true rough opening, then trust your tape. Pull the interior trim to measure, and double-check the order — a quarter inch too big can mean the window simply doesn’t go in, especially on brick veneer. The costliest DIY mistake isn’t the install. It’s the mis-order.
- Never remove the old window until the new one is on site and verified to fit. Otherwise you own a hole in the wall while a custom unit gets remade.
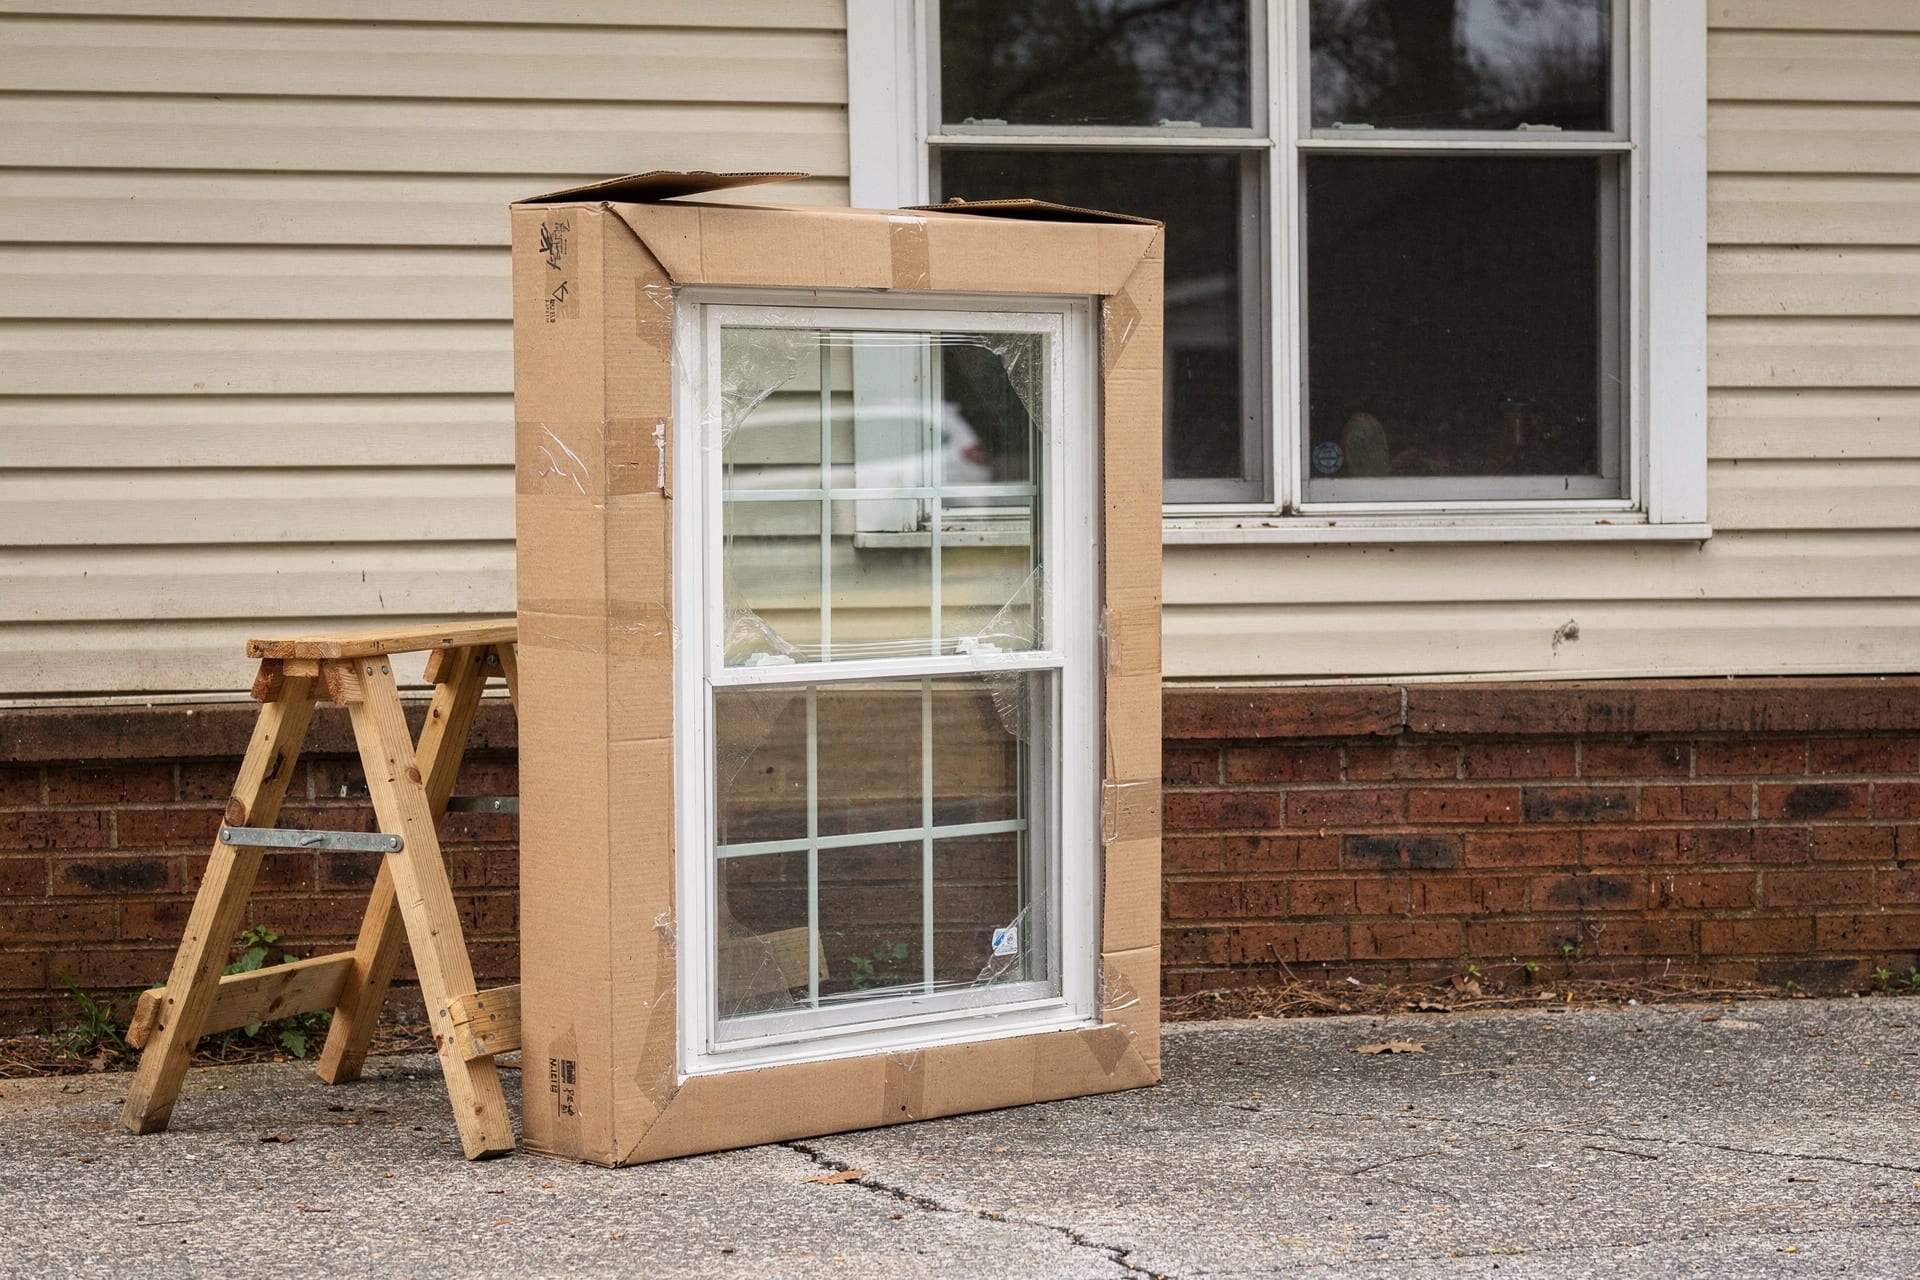
Window type matters too. Forum consensus runs: casements are the most forgiving, double-hung are easy but finicky to square, and sliders punish any error — they have to be right in every dimension or they won’t slide.
What ends the DIY case at an opening?
Five conditions — and any one of them moves that window to the pro column, no matter how handy you are.
- Soft wood or an out-of-square frame. An insert over rot buries a problem instead of fixing it, and a racked opening binds the new sash. Run the five-minute condition test before you order anything. A sill that gives under a screwdriver tip means the rot has to come out of the wall — full-frame territory, and honestly a crew’s job.
- Flashing and water management. Full-frame work means a sill pan, flashing lapped in the right order, and a tie-in to the wall’s weather barrier. That’s the craft that decides whether the wall stays dry, and it’s the part a first-timer can’t see failing. One forum caution worth repeating: a botched seal can turn into water damage your insurance argues about.
- Code locations. Some openings owe you tempered safety glass — beside doors, big low panes, tub and shower walls, along stairs — and bedroom windows have to stay big enough to escape through. Check the tempered rules and the egress rules before you order, because real DIYers tend to meet them at the order desk.
- Warranty install conditions. Not because DIY automatically voids a warranty — it usually doesn’t. The real condition in the fine print is installation per the manufacturer’s written instructions, and a few brands do require an authorized installer. The part nobody says out loud: when you DIY, you are your own labor warranty. The pane may ship free forever. The fitting is on you.
- Big, heavy, one-shot units. Eight-foot spans, bay and bow assemblies, sliding doors, anything on the second story. Weight and height don’t reward study — one forum DIYer who does everything else summed up a big unit with “sadly I had to hire that one out.”
One code catch is specific to us, and it’s worth its own paragraph. A like-for-like swap in North Carolina usually needs no permit — which means no inspection.
So a replacement unit with a thicker frame can quietly shrink a bedroom opening below what the escape rules require, and on a DIY job there’s no installer at the opening to catch it. Nobody inspects a like-for-like swap — so nobody catches the quiet mistake but you. The numbers live on those pages, not here.
Here’s the same line as a table you can hold your own windows against:
| Your opening | DIY-able? | Why |
|---|---|---|
| Sound, square, dry, ground floor, standard size | Yes — this is the DIY window | An insert drops into the existing frame; trim and siding never move |
| Any soft wood, or diagonals that don't match | No | That's full-frame work — the bad wood leaves the wall with the old frame |
| Full-frame scope (new flashing, sill pan) | Rarely | Water management is the craft the labor line exists to buy |
| Bedroom, stairway, bathroom, or beside a door | Pause — check code first | Egress and tempered-glass rules decide the window before you order it |
| Brick veneer or stucco exterior | Think hard | Unforgiving cladding turns a small sizing miss into a stuck job |
| Big, heavy, or second-story units | Hire it | Sliders, 8-foot spans, and upstairs work are one-shot lifts |
Sound, square, dry, ground floor, standard size
- DIY-able?
- Yes — this is the DIY window
- Why
- An insert drops into the existing frame; trim and siding never move
Any soft wood, or diagonals that don't match
- DIY-able?
- No
- Why
- That's full-frame work — the bad wood leaves the wall with the old frame
Full-frame scope (new flashing, sill pan)
- DIY-able?
- Rarely
- Why
- Water management is the craft the labor line exists to buy
Bedroom, stairway, bathroom, or beside a door
- DIY-able?
- Pause — check code first
- Why
- Egress and tempered-glass rules decide the window before you order it
Brick veneer or stucco exterior
- DIY-able?
- Think hard
- Why
- Unforgiving cladding turns a small sizing miss into a stuck job
Big, heavy, or second-story units
- DIY-able?
- Hire it
- Why
- Sliders, 8-foot spans, and upstairs work are one-shot lifts
What does hiring a pro actually cost — and what does it buy?
As a national range, the labor line alone runs roughly $100–$300 a window for an insert and $150–$800 for full-frame — and DIY saves most of that line, not all of it.
Those are cost-guide figures, the same ones on the labor-line page, not an NC quote. But they’re enough to see why the DIY math tempts people: across a whole house, the labor adds up to real money.
What DIY doesn’t save: the tools you don’t own yet, disposal of the old units, the mis-ordered window that becomes a very expensive lesson, and time. The best-documented DIY triumph in the forum record — fourteen windows, five figures kept — also cost two months of afternoons and weekends.
And the delta isn’t always dramatic. One homeowner — a glazier by trade, buying his own windows at supplier cost — found his contractor’s window installer would do the fitting for about $25 more per window, shims, caulk, and foam included, since the install rode along with the supply. One tradesman’s anecdote, not a market rate — but a useful reminder to price the split before assuming the labor line is huge.
Here’s what that line buys when you do spend it. Not muscle — water and square: the sill pan, the flashing order, the shimming that keeps a sash from binding in year three.
Plus speed and judgment. One forum regular who DIYs nearly everything chose to hire out ten windows in a 1950 stone house, expecting the oddities to eat his whole summer. The crew finished in two days, and in his words, they look great.
That’s the no-drama version of both sides. The savings are real. So is the work.
The honest middle path
You don’t have to pick a side. The forum consensus — repeated independently across every thread I read — comes down to three moves.
- Audition one window. Order a single unit for your easiest opening and see how you feel on the other side of it. If it goes well, order more. One DIYer started at the back of the house, where the only audience for his early mistakes was himself, and worked forward as budget allowed.
- Split the house. DIY the sound, square, ground-floor openings and put the savings toward hiring the second story and the giants. That exact plan — we do the easy ones, pros get the hard ones and better glass — is how experienced DIY couples on the forums actually run a 12-window house.
- Split the supply from the install. Buy the windows yourself from a local supplier or lumber yard — forum buyers keep finding local-shop pricing lands below big-box for a better unit — and pay a pro for install-only. You keep most of the savings and still get the water-and-square craft on the wall.
Whichever path you take, run the condition test at every opening first, and let each window declare its own column.
The short version
The honest line, in four sentences:
- The DIY window exists: an insert into a sound, square, dry, ground-floor opening in a standard size, and it’s genuinely within an intermediate DIYer’s reach.
- The kill conditions are real: rot or racking, flashing work, code locations, warranty install conditions, and one-shot heavy units — any one moves that opening to the pro column.
- The money is real on both sides: DIY keeps most of a labor line that runs roughly $100–$300 a window for inserts, and the pro’s line buys water, square, speed, and judgment.
- The middle path is the smart default: audition one window, DIY the easy openings, hire the hard ones.
If you’d like a second set of eyes before you order anything — which openings pass, which don’t, and whether the whole project pencils out — that’s a no-pressure conversation. And if you’re still deciding whether these windows need replacing at all, start with the full NC installation picture.
Sources, Verification & Fact-Checking verified July 2026
Every load-bearing fact on this page is sourced and verified against a primary authority.
Verified July 2026 via direct review of the cited authority — the links open the controlling source so you can check it yourself rather than take our word.
- Manufacturers support DIY window installation and frame the decision as a self-assessment on skills, tools, and time; full-frame replacement runs at least 4–6 hours per window at ground level, more on upper floors. Andersen Windows DIY installation support page. (view source — Andersen, DIY window & door installation)
- The labor line alone runs roughly $100–$300 per window for an insert and $150–$800 for full-frame as national cost-guide ranges — the same bands carried on the installation-cost page. National figures, not an NC quote: HomeAdvisor’s current guide puts window-install labor at $100–$400 per window, and Fixr puts it between $150–$300 for smaller windows and up to $800 for large bay or bow units that need multiple installers. (view source — HomeAdvisor window-installation cost guide; view source — Fixr window-replacement cost guide)
- The 14-window DIY account (about $4,500 in units against a roughly $16,000 installed quote, “I saved $10k,” two months of afternoons and weekends) and the stone-house hire-out account (ten windows, two days, “they look great”) are attributed homeowner reports from the same discussion. (view source — r/HomeImprovement, “DIY vs pro installed windows”)
- The “$25 more a window when install rides with supply” figure is one tradesman’s account — a glazier buying his own windows at supplier cost — presented as an anecdote rather than a market rate; the “well within the ability of intermediate to advanced DIYers” assessment (from a DIYer with 75–100 installs) and the true-rough-opening measuring discipline come from the same thread. (view source — r/HomeImprovement, “How hard is it to replace windows?”)
- The one-window audition, the back-of-the-house start, and the window-type forgiveness ranking (casements forgiving, sliders unforgiving) are recurring homeowner advice. (view source — r/homeowners, “Anyone learn to install windows on their own?”)
- The French-door regret account (“Tried myself. I regret it.”) is an attributed homeowner report shared in a front-door replacement-quote discussion. (view source — r/HomeImprovement, front-door replacement-quote thread)
- Warranty coverage is typically conditioned on installation per the manufacturer’s written instructions, and some brands require an authorized installer — DIY does not automatically void a product warranty, but there is no workmanship warranty on your own labor. Detailed, with the controlling terms, on the warranty fine-print page.
- In North Carolina a like-for-like window swap generally requires no permit and therefore no inspection; egress and tempered-glass requirements are stated as pointers only. The thresholds and statute live on the NC permits page, the egress page, and the tempered-glass page — no code numbers are restated here by design.